

Events

You Probably Won’t Get Murdered VI (8/9/2024)
**Welcome to the Comeback!** “Mad Libs” style (For Now, Details TBD)After a long hiatus, we’re back in gear and revving up for MCR Detroit’s 6th Annual Rally! Get ready for “You Probably Won’t Get Murdered VI” – our most exhilarating event yet, returning for the first time since the pandemic. It’s time to dust off those[…]
13th Annual Corktown St. Patrick’s Day Parade Ride (3/10/2024)
13th Annual Corktown St. Patrick’s Day Parade Ride & Bradley Layton’s Initiation Party 2024 – Hosted by MCR Moped Club **Date:** Sunday, March 10, 2024 **Time:** Meet at 11:30 AM (or earlier) **Meeting Point:** MCR Clubhouse **Parade Start Time:** 1:00 PM **Duration:** Until we’re tired and cold! **Ride Details:**Gear up for the “Season Opener” of the MCR Moped Club – the 13th[…]
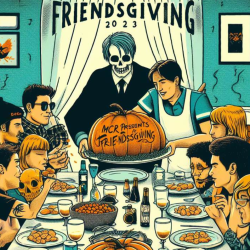
Friendsgiving 2023 (11/12/2023)
Hey all, join us, MCR + friends this Sunday 11/12/23 @ 1pm @ the MCR shop. We’ll be frying a turkey for everyone like 2 years ago. Then continue with a 4pm Lions game viewing (Go Lions). Bring a dish/side! Kids welcome.
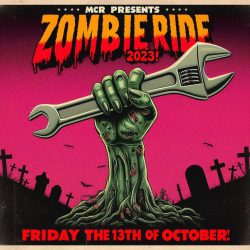
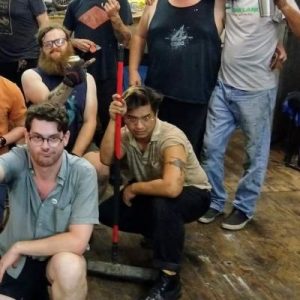
Zombie Ride 2023 (And Jason’s New Member Initiation Party) (10/13/2023)
**MCR Presents Zombie Ride 2023 (And Jason’s New Member Initiation Party)** Join us for an adrenaline-pumping evening of undead excitement as MCR Moped Club proudly presents Zombie Ride 2023! Dust off your most spine-chilling costumes and creep on down to the MCR ClubHouse, located at 5530 W Warren Ave, Detroit, MI 48210-1249, United States. **Event Schedule:**– **6:00 PM**:[…]
MCR & DMW Moped Monday Labor Day BBQ (9/4/2023)
**Moped Monday Labor Day Extravaganza 2023**: Presented by MCR & DMW **Roll Into Labor Day in Style!** Join us for an unforgettable day as MCR and DMW unite at the iconic MCR Detroit Clubhouse, the “New Nastee”, to bring you a one-of-a-kind Labor Day celebration. Located at 5530 W Warren Ave, Detroit, MI, we’re conveniently situated right[…]

2022 MCR Zombie Ride (10/22/22)
What: 2022 MCR Zombie Ride When: Saturday October 22nd 2022 Where: MCR Detroit shop (ask a member for address) Why: The MCR “Zombie Ride,” is probably the club’s longest standing tradition dating back to 2011; kind of a “mini-rally.”Meet at the club house early to get your zombie makeup on & tie one on/ We’ll[…]
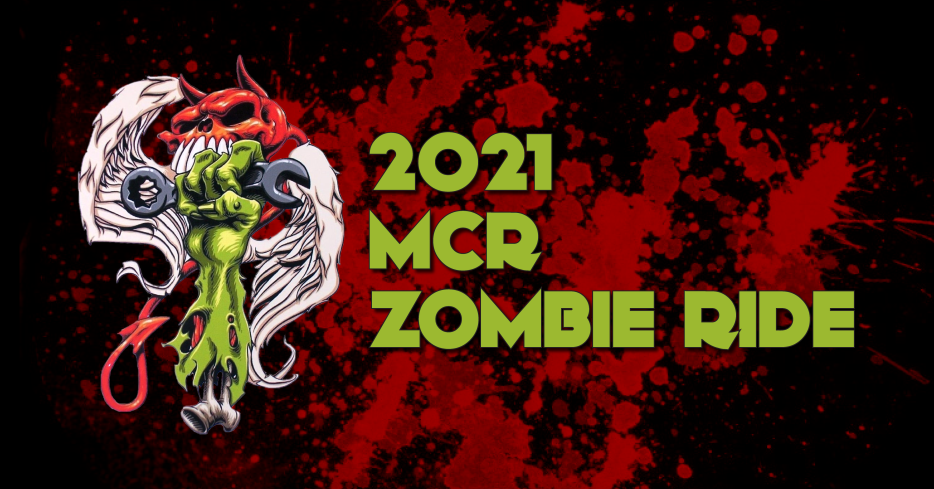
2021 MCR Zombie Ride Triple Initiation Party (10/22/2021)
MCR presents: the Return of The Zombie Ride. It’s been a minute, but we’re back and undeaderer than ever! PLUS, please help us welcome 3 wonderful people into our club– 2 new members and one we couldn’t safely throw a party for during times of fuckery. To attend, you must either be fully vaccinated against[…]

Rick Bielec Memorial Ride (07/11/21)
Details: To commemorate the life of our dear friend Rick, MCR, the Zeros, and the Down River Scooter Club will be hosting a memorial ride passing by Rick’s former house, visiting his grave, then ending at the MCR Club House. osterreichische-apotheke.com Event Schedule: Noon: Meet up at Rick’s brothers house 1pm-2pm: Ride from Brownstown to[…]
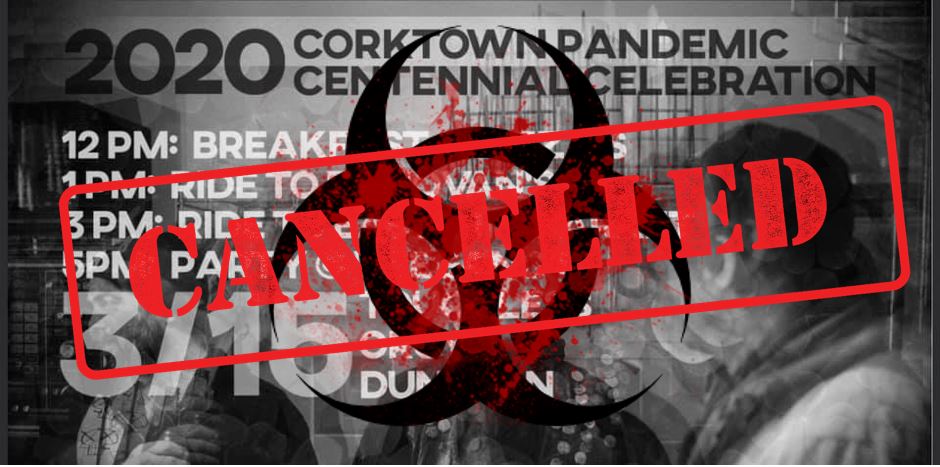
2020 Corktown Pandemic Centennial Celebration (3/15/20)
Mar 15 at 11 AM – Mar 16 at 12 AM Corktown, Detroit, Michigan 48216 online video to mp3 THE ☘️ PARADE AND CORKTOWN RIDE IS UNFORTUNATELY CANCELLED! ☠️ The Deets as follows, but subject to change, SO CHECK BACK! NOON : Chili/Meetup @ Lizzy’s @ 1220 Casgrain (SHOVE IT IN AND ENJOY YOUR BIKE!)[…]
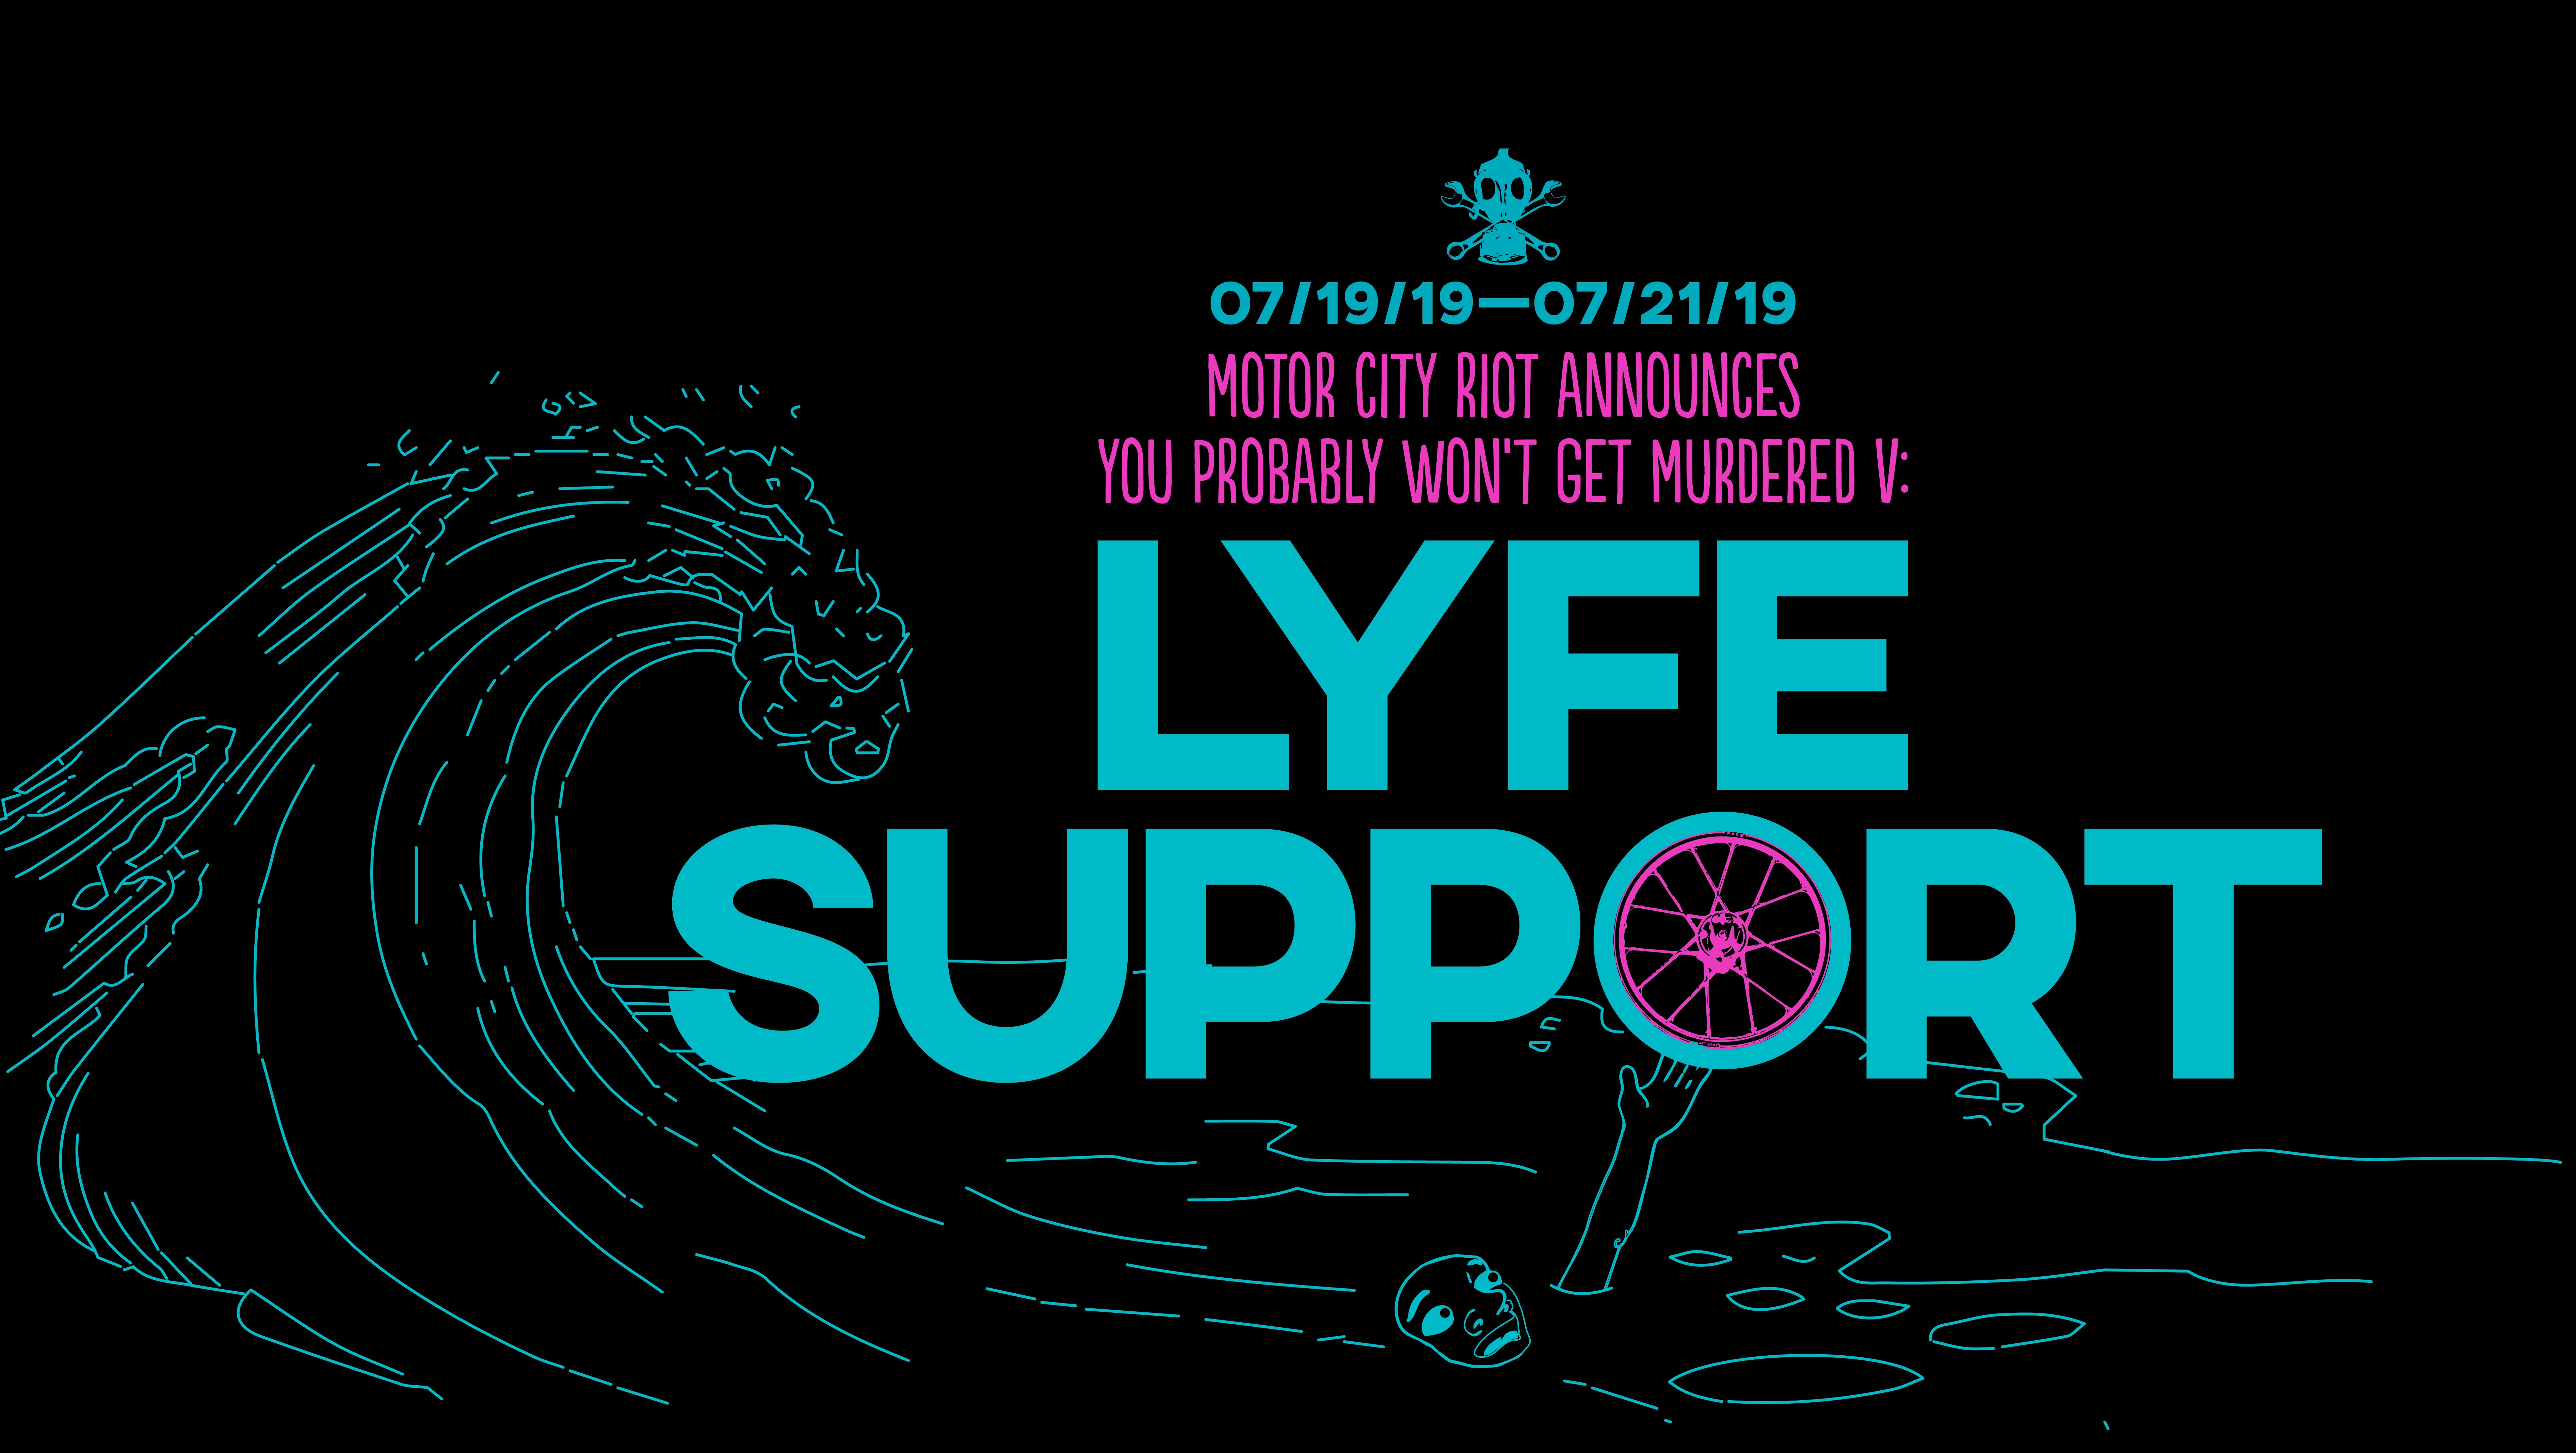
You Probably Won’t Get Murdered V: Lyfe Support (7/19/19)
You Probably Won’t Get Murdered V:… (7/19/19) Detroit, MI, United States danmark-aptk.com MCR cordially invites you to our FIFTH moped rally, taking place this year from July 19th to 21st, 2019!! Pre-registration will close at noon on Thursday, July 18th. After that, you will also be able to register in person on Friday afternoon and[…]
About MCR
Members

Alex Samul

Alex Tetreault

Andrew Wiegand

Bob Manikowski

Brad Potts

Bradley Layton

Corey Guedes

Greg Gokee
Jason Piro

Joe Gagliano
Jonathan Lee

Justin Hatch